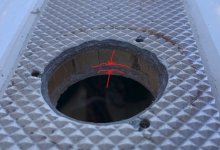
I had a similar issue on my boat where the core was not properly sealed and had some moisture damage around the rod holders as well as the freshwater fill fitting. The steps are as described by ssobol above, remove the old/rotten core as much as possible, dry the area, fill with thickened epoxy and re-install hardware with butyl tape.
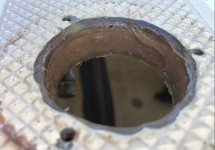
Stepping back the core:
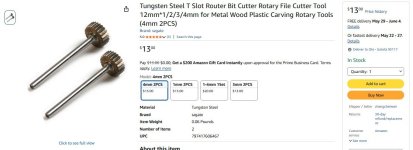
If it's not totally rotted, a dremel t-slot burr tool can be used to step back the wood while keeping the upper and lower glass intact. In your case it seems like you were able to pry out most of the damaged balsa.
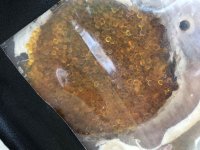
Drying the area:
Drying the remaining core can be tricky. I have had some good luck here by taping off the bottom of the hole with some clear film, pouring in silica gel, and taping off the top with film. After a day or two, the beads will turn color as they absorb moisture. They can be easily sucked out with a shop-vac and the beads can be collected, dried in the microwave and re-used. They absorb something like 30% of their weight in water so it's a pretty good way to dry areas that are hard to reach. Repeat until the gel no longer turns color, meaning there is no more moisture to absorb.
Filling the gap:
Once it's reasonably dry, mix up some epoxy with filler (I like the west marine filleting blend but almost any filler will do) you want to get the consistency right between mayonnaise and peanut butter, just so it doesn't run out of your gap. To squeeze it into the gap, I like to put it into a little pastry type bag after mixing in a cup. I usually just use a ziploc bag with a small corner snipped off to stand in for the pastry (frosting) bag. A large syringe also works well but it's hard to get the thickened mixture loaded into the syringe. Try to avoid air bubbles when filling the void left by the rotten core. Use a popsicle stick to create a nice clean edge.
If you find that you have a very large void space, the epoxy can get very hot during cure, so make sure you use a slow hardener. For really large voids, you can also consider filling with two part expanding foam.
I would consider doing this for all of your fittings since I don't think CDory did a good job sealing core (at least on my boat)
Good luck with the repair!