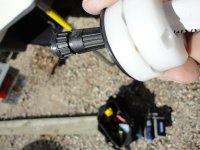
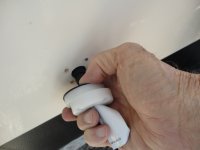
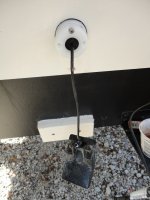
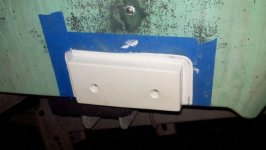
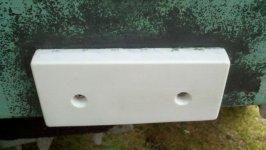
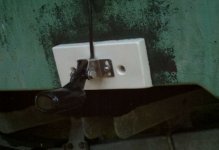
The goal is to put in place a starboard block which will allow moving of the depth sounder transducer without drilling new holes in the transom and risking water intrusion. The Cable Clam will allow a 3/4" diameter plug to pass thru the transom below the splash well. Previously the cable went over the top of the transom, and down the back side to one of several transducers which had been used on the boat. These holes were repaired by filling with epoxy and then epoxy barrier coat, with bottom paint.
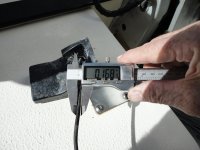
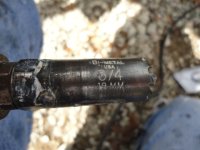
The first thing to do is measure the diameter of the plug:
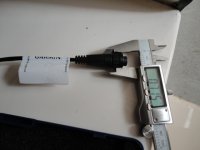
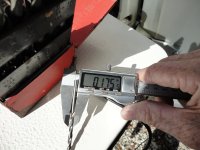
We find that is close to 3/4" and go to the 50 year collection of hole saws which are from 1/2" to 4" in diameter:
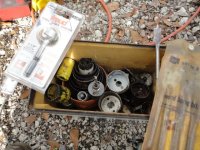
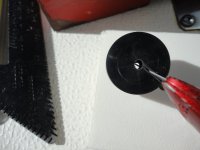
Even though this saw has seen plenty of use, it is a bimetal blade and remains sharp:
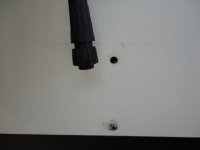
A pilot hole has already been drilled in the transom, to be sure that the final 3/4" hole will be just under the splash well, and will not interfere with any cables or the fuel tank:
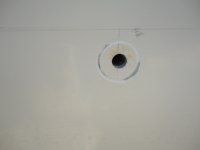
The hole saw is run "backward" to score the gel coat, and avoid any splintering:
The Starboard block (6" x 3") has been prepared. Since I had only 1/2" thick Starboard, two pieces are put together. They are clamped the the holes drilled with a drill press to be sure that they are at 90 degrees.
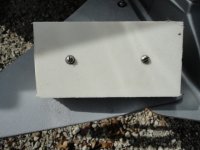
The block is held in place, while a pencil line is drawn, and straight edges are used off the bottom of the boat, to be sure that the Starboard is flush:
One hole is drilled, and a temporary screw put in place, while the second hole is drilled:
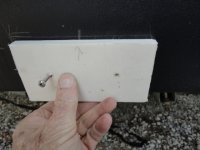
Next all of the holes for screws are drilled out to 5/16", and a Dremel bit will be used to under cut the foam behind the glass on the outside of the transom.
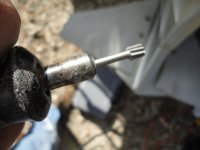
Here is one of the holes being undercut:
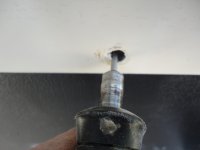
The cable clam is selected, to be slightly larger than the hole the transducer passes thru:
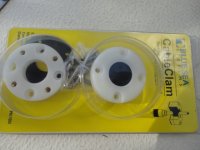
Next the rubber gasket is used to layout the small holes for the screws which hold the body of the Cable Clam in place:
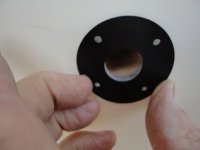
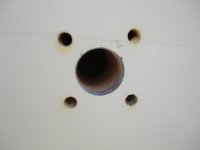
The holes are all routed out (a smaller bit is used for these screw holes) and ready to be filled with epoxy:
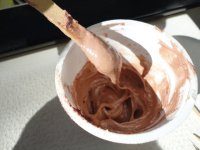
The epoxy with Cabosil and medium density filler is mixed to peanut butter consistency:
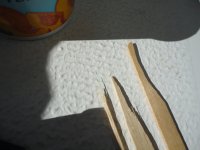
The "tools" for filling the holes are laid out--I use pop cycle sticks, from "hobby lobby" and cut to fit the job. The largest was used for 95% of these holes. I put a "glob" of epoxy into the hole, and then push it in with the stick. Work it around, twist, and air will come out. Keep doing this until no more air comes out. You can also use a syringe filled with epoxy and filler.
After the holes are filled, then scrap off any excess epoxy, and then wire clean with lacquer thinner. After the epoxy has set up, then drill new pilot holes for the screws into the epoxy. When you drill the initial holes, be sure they are deeper than the screws will penetrate.
Here is one of the holes for the Starboard, filled, note that all bottom paint has been removed.
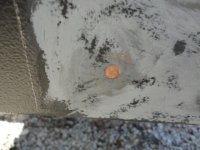
Here are all of the holes, and the passage for the cable, coated with epoxy:
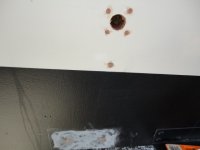
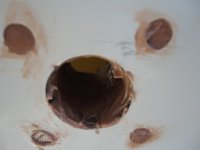
The top of each hole will be cleaned and lightly sanded, plus the passage will be sanded to smooth out the epoxy.
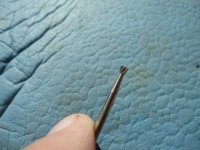
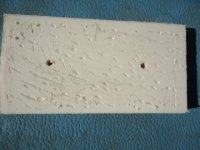
Finally the starboard block is undercut with a small dove tail bit, so 5200 will get a "grip" on its surface.
Next installment will be the "easy part"--putting the block and screws in place, and using the "Cable Clam"--plus properly securing the transducer cable as it is put back in the boat.
The first thing to do is measure the diameter of the plug:

We find that is close to 3/4" and go to the 50 year collection of hole saws which are from 1/2" to 4" in diameter:

Even though this saw has seen plenty of use, it is a bimetal blade and remains sharp:

A pilot hole has already been drilled in the transom, to be sure that the final 3/4" hole will be just under the splash well, and will not interfere with any cables or the fuel tank:

The hole saw is run "backward" to score the gel coat, and avoid any splintering:

The Starboard block (6" x 3") has been prepared. Since I had only 1/2" thick Starboard, two pieces are put together. They are clamped the the holes drilled with a drill press to be sure that they are at 90 degrees.

The block is held in place, while a pencil line is drawn, and straight edges are used off the bottom of the boat, to be sure that the Starboard is flush:
One hole is drilled, and a temporary screw put in place, while the second hole is drilled:

Next all of the holes for screws are drilled out to 5/16", and a Dremel bit will be used to under cut the foam behind the glass on the outside of the transom.

Here is one of the holes being undercut:

The cable clam is selected, to be slightly larger than the hole the transducer passes thru:

Next the rubber gasket is used to layout the small holes for the screws which hold the body of the Cable Clam in place:

The holes are all routed out (a smaller bit is used for these screw holes) and ready to be filled with epoxy:

The epoxy with Cabosil and medium density filler is mixed to peanut butter consistency:

The "tools" for filling the holes are laid out--I use pop cycle sticks, from "hobby lobby" and cut to fit the job. The largest was used for 95% of these holes. I put a "glob" of epoxy into the hole, and then push it in with the stick. Work it around, twist, and air will come out. Keep doing this until no more air comes out. You can also use a syringe filled with epoxy and filler.
After the holes are filled, then scrap off any excess epoxy, and then wire clean with lacquer thinner. After the epoxy has set up, then drill new pilot holes for the screws into the epoxy. When you drill the initial holes, be sure they are deeper than the screws will penetrate.
Here is one of the holes for the Starboard, filled, note that all bottom paint has been removed.

Here are all of the holes, and the passage for the cable, coated with epoxy:


The top of each hole will be cleaned and lightly sanded, plus the passage will be sanded to smooth out the epoxy.
Finally the starboard block is undercut with a small dove tail bit, so 5200 will get a "grip" on its surface.


Next installment will be the "easy part"--putting the block and screws in place, and using the "Cable Clam"--plus properly securing the transducer cable as it is put back in the boat.

