Sunbeam
Active member
- Joined
- Feb 23, 2012
- Messages
- 3,990
- Reaction score
- 0
- C Dory Year
- 2002
- C Dory Model
- 22 Cruiser
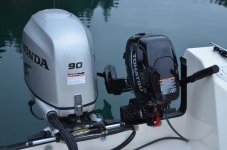
Here are a few photos of the Mini Jacker on my boat, in case they might be useful. This first one shows the Honda 8D (pardon the quality, I deliberately over-lightened some of these to make the detail show up better). This was just right on the Mini Jacker as installed. When you compare it to the following photos of the Merc 5, you can see how much difference the "stoutness" of the Honda made where the leg goes past the trim tab planes. You can also get an idea of how far down the long shaft(s) sit even with the 3" rise of the Mini Jacker.
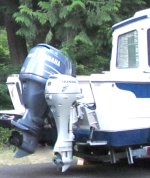
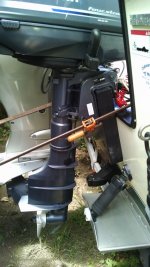
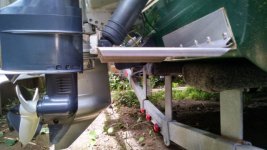
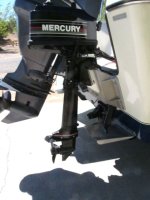
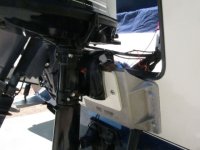
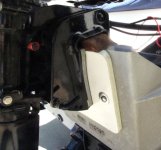
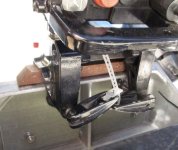
Here is the much more slender Merc 5 (2-stroke). I have it shimmed in four places. First, a hardwood cleat of about 3/4" thick on top of the Mini Jacker; second a fiberglass shim aft of the plate (the white one); third another fiberglass shim attached directly to the motor bracket with a small, tapped screw through an existing hole in the bracket (this is just aft of the white one, and is medium green); and fourth a couple of more green fiberglass shims on the inside of the Mini Jacker. These latter two replace the thick plywood panel that comes with the Mini Jacker (which I did use with the Honda, although I cut the unused lower half off). The white and green shims attached to the Mini Jacker are fastened through and to each other with one pair of machine screws/nuts - I used the holes that were already there from mounting the Honda. The inside green shims are there so that the motor screws will tighten properly. The fiberglass shims are there to move the engine aft since it is so "skinny" compared to the Honda 8D (but I shed close to 70# of kicker!)
The engine as shown is in the highest/aft-most position of the adjustment pin. It will juuuuust clear the trim planes in the next lower position.


