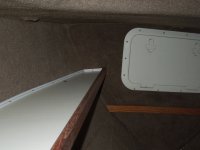
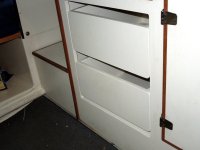
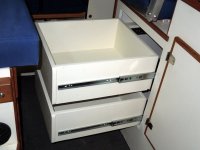
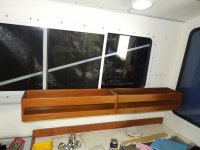
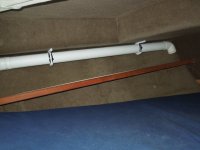
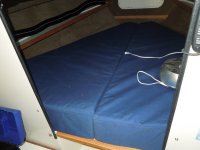
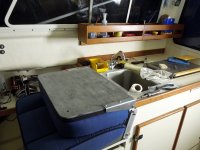
Have an immense list of projects for the new Boat this winter (still have not decided what to call her); here are a few I’ve completed.
Install Wallas 30Dt furnace:
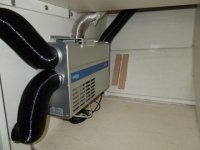
This project took a lot of thought like where to mount unit, routing of the ductwork, etc. I first thought I could mount it under the galley, there just wasn’t enough room. I had originally planned on routing heat vents to blow on the windows and up to the V-birth. After talking with Doug at Scan Marine I decided to rout one air return up forward in the V-birth and one into the cockpit; this would satisfy the recommendations for air return. The 30Dt sucks in air via two 3” ducks and blows heat from the same on the other end. For best performance and cabin comfort it’s recommended you have one fresh and one cabin air return.
I centrally located the hot air vents, this greatly simplified the install. Having the cabin air return up in the V-birth draws enough worm air into that space to make it comfortable, should help eliminate condensation.
Furnace is whisper quit on the low settings.
In the end I’m really happy with the way it turned out; glad this projects behind me.
LED cabin light replacement:
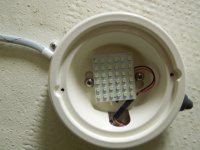
Bought these lights from Amazon for like 3.99 each. Had to remove each light fixture, remove the old bulb base, than hard wire in one of the connectors that came with the lights. The intensity it par with the old incandescent but more in the white spectrum. I’ve probable already put over 50 hours on these lights, they are on whenever I’m in the Man Cave.
Fan and DVD player install.
We had these fans on the 22 and loved them. If your hand or head comes in contact with the active blades it’s only an annoyance, and they have great air flow. Really quiet!
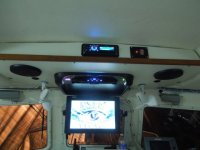
The boat came with a drop-down DVD play, and it worked once or twice before giving up the ghost. Install was really easy, two power leads and a mounting bracket to cover up the scars left from the previous occupant of the space.
More picture in The Man Cave folder:
http://www.c-brats.com/modules.php?set_ ... _album.php
Install Wallas 30Dt furnace:
This project took a lot of thought like where to mount unit, routing of the ductwork, etc. I first thought I could mount it under the galley, there just wasn’t enough room. I had originally planned on routing heat vents to blow on the windows and up to the V-birth. After talking with Doug at Scan Marine I decided to rout one air return up forward in the V-birth and one into the cockpit; this would satisfy the recommendations for air return. The 30Dt sucks in air via two 3” ducks and blows heat from the same on the other end. For best performance and cabin comfort it’s recommended you have one fresh and one cabin air return.
I centrally located the hot air vents, this greatly simplified the install. Having the cabin air return up in the V-birth draws enough worm air into that space to make it comfortable, should help eliminate condensation.
Furnace is whisper quit on the low settings.
In the end I’m really happy with the way it turned out; glad this projects behind me.

LED cabin light replacement:
Bought these lights from Amazon for like 3.99 each. Had to remove each light fixture, remove the old bulb base, than hard wire in one of the connectors that came with the lights. The intensity it par with the old incandescent but more in the white spectrum. I’ve probable already put over 50 hours on these lights, they are on whenever I’m in the Man Cave.

Fan and DVD player install.
We had these fans on the 22 and loved them. If your hand or head comes in contact with the active blades it’s only an annoyance, and they have great air flow. Really quiet!
The boat came with a drop-down DVD play, and it worked once or twice before giving up the ghost. Install was really easy, two power leads and a mounting bracket to cover up the scars left from the previous occupant of the space.

More picture in The Man Cave folder:

http://www.c-brats.com/modules.php?set_ ... _album.php

