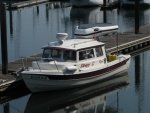
I made a few mods to the V-Berth to make it more useable.
I started with a small inspection hatch at the center of the forward bilge. I cut out a circle the right size for a hatch:
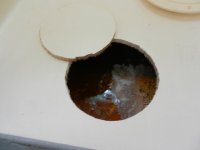
There was about 2 gallons of NASTY water in there:
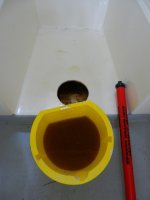
After cleaning it all out, installed the inspection hatch:
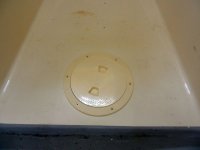
No need to clean up - there was more to do!
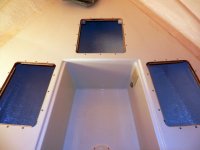
Next I cut 3 access holes in under the cushions. For those that are interested, my boat (2007) had no foam or anything underneath - just air. This is actually the "after" photo - I didn't take an in-process photo as I cut them :crook
I epoxied the edges of the edges of the exposed wood after cutting.
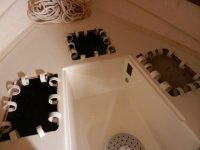
After cutting the holes, I scuffed up the fiberglass edges underneath and also some aluminum strips that I rounded the coners on. And epoxied them in to support some lids (screws came later):
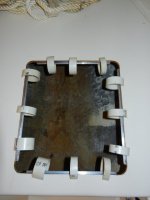
PVC tube sections make GREAT clamps. You can adjust the strength by how wide you cut each slice of the tube -- skinny ones for light pressure, fat ones for strong. I make use of a huge bucket of these all the time for various projects:
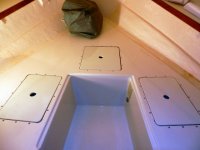
I used 1/2" plywood for the lids. I cut and rounded over a hole in the middle for removing, and then painted with Brightsides ("Hatteras Off-White is a VERY close color match to the interior gelcoat, BTW). I drilled and installed some flush-head screws and nuts into the epoxied aluminum strips also.
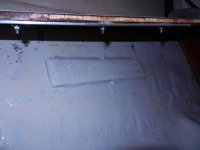
While I had my head down in there, I glassed and painted a couple of mounting cleats to the hull sides:
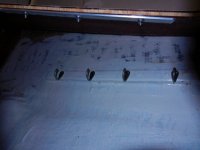
Then I mounted some hooks on them to hang stuff up out of the way of the storage junk down below. I have a row of hooks on each side for spare dock lines, bucket, etc.
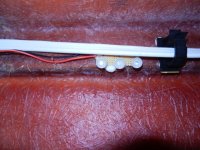
Also "while I was in there", I mounted two home made LED lights to the aft bulkhead underneath:
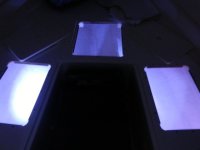
They help illuminate all the junk down in there when it is dark:
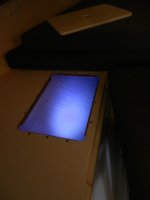
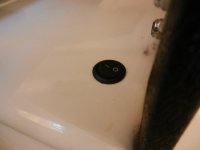
I put a flush-mount switch for the lights right at the corner under the cushion (where there is no pressure to accidentally turn on):
It was all really easy to wire up being all locally right there at the helm power location.
This was a very useful project and gave us a TON of new storage space!
Ray
I started with a small inspection hatch at the center of the forward bilge. I cut out a circle the right size for a hatch:

There was about 2 gallons of NASTY water in there:

After cleaning it all out, installed the inspection hatch:

No need to clean up - there was more to do!
Next I cut 3 access holes in under the cushions. For those that are interested, my boat (2007) had no foam or anything underneath - just air. This is actually the "after" photo - I didn't take an in-process photo as I cut them :crook
I epoxied the edges of the edges of the exposed wood after cutting.

After cutting the holes, I scuffed up the fiberglass edges underneath and also some aluminum strips that I rounded the coners on. And epoxied them in to support some lids (screws came later):

PVC tube sections make GREAT clamps. You can adjust the strength by how wide you cut each slice of the tube -- skinny ones for light pressure, fat ones for strong. I make use of a huge bucket of these all the time for various projects:

I used 1/2" plywood for the lids. I cut and rounded over a hole in the middle for removing, and then painted with Brightsides ("Hatteras Off-White is a VERY close color match to the interior gelcoat, BTW). I drilled and installed some flush-head screws and nuts into the epoxied aluminum strips also.

While I had my head down in there, I glassed and painted a couple of mounting cleats to the hull sides:

Then I mounted some hooks on them to hang stuff up out of the way of the storage junk down below. I have a row of hooks on each side for spare dock lines, bucket, etc.

Also "while I was in there", I mounted two home made LED lights to the aft bulkhead underneath:

They help illuminate all the junk down in there when it is dark:

I put a flush-mount switch for the lights right at the corner under the cushion (where there is no pressure to accidentally turn on):

It was all really easy to wire up being all locally right there at the helm power location.

This was a very useful project and gave us a TON of new storage space!
Ray

