| View previous topic :: View next topic |
| Author |
Message |
bmacpiper
Joined: 03 Jun 2007
Posts: 211
City/Region: Bainbridge Island
State or Province: WA
C-Dory Year: 2007
C-Dory Model: 22 Cruiser
Vessel Name: Big Blue
|
 Posted: Fri Jun 01, 2012 8:09 pm Post subject: Bronze porthole install details Posted: Fri Jun 01, 2012 8:09 pm Post subject: Bronze porthole install details |
 |
|
Hey everyone, thought I'd create a new topic with the correct metal in the name, and with photos of the actual installation, as an archival piece for the next dude/dudette who decides it's a good idea to cut a giant hole in his/her boat...
For starters, thanks to all for the great info on the other thread on the portholes. It helped my thought process a lot. For reference, it is here:
http://www.c-brats.com/viewtopic.php?t=18066
I have called Terri at New Found Metals in Port Townsend about ten times (no kidding) to talk about details of the install that occurred to me as I thought about it. She has been great to work with, and instrumental in getting this right.
I will point out that these are individual items--each porthole and trim ring are a matched set and not interchangeable, i.e. they vary slightly. They have serious old-world charm--but if you like things super precise and perfect, probably not the best choice. Also, my main lesson on this particular install is to check everything about six different times. The template you make for one porthole likely will not fit the other. The teak frame for one porthole in my case definitely does not fit the other, even though they are the "same". You get the idea. Take nothing for granted.
I started with the 8" circle porthole over the galley for two reasons. First, if I screwed up badly, I could always go bigger and fix the mistake, even going so far as to use the original Diamond window if necessary. Second, I wasn't sure if I'd like the bronze and the size, and the jury is out there still. It's funny--I've had no window at all in there, and having one now, I am finding that I already wish for a bigger one!  NFM doesn't make a bigger round porthole in bronze than 8", but they make a stainless one that's 12" in diameter, and a rectangle that's 10"x20", etc. Either of which would require me to take a second loan on the boat... I think the bronze will look really good once it patinas to match the cleats on the boat, i.e. green and dull. NFM doesn't make a bigger round porthole in bronze than 8", but they make a stainless one that's 12" in diameter, and a rectangle that's 10"x20", etc. Either of which would require me to take a second loan on the boat... I think the bronze will look really good once it patinas to match the cleats on the boat, i.e. green and dull.
I am using teak frames on the interior of all three portholes, which I got from the PO. These things are seriously fragile, and the inside diameter of them is not cut large enough to meet the installation instructions. Take the time to set up a router with a jig so you can open them up 1/16-1/8" all around the interior, or maybe use a drum sander. I broke the large one into at least five pieces, as you will see in the photos below. However, another day, I will be able to loosen the fasteners, and glue/clamp the teak frame back into place. Tonight I'm headed out on the water and just don't have time.
Without further ado, here are some pictures.
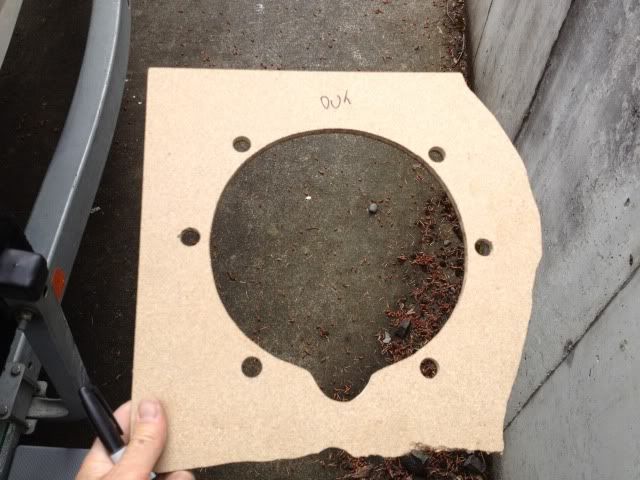
My template, created from the teak frame and then enlarged on the boat. It is not a mirror image and so has an inside and outside.
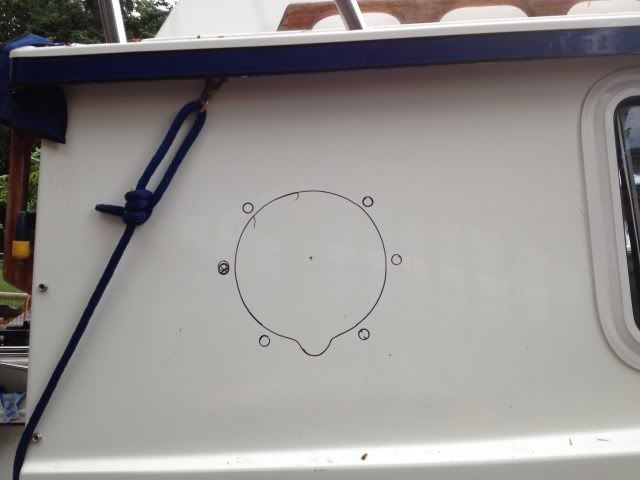
Marked the boat with Sharpie pen.
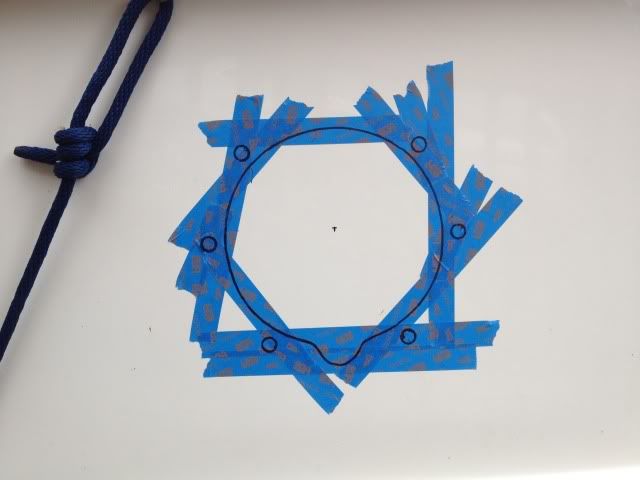
Then taped and remarked on the tape.
Checked inside the boat again to be sure the hole would be where I wanted it to be.
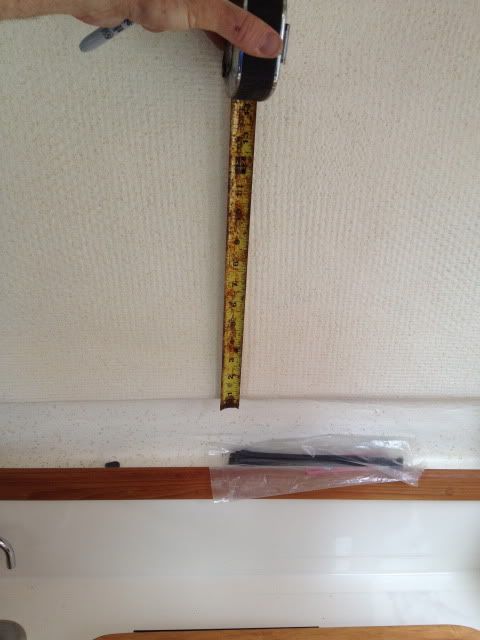
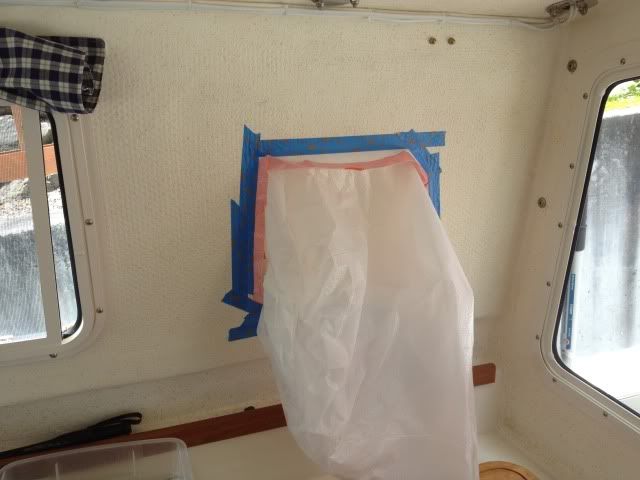
Taped a bag inside (thanks Valkyrie!!!) and folded the top over before taping-this lets it be removed later without spilling.
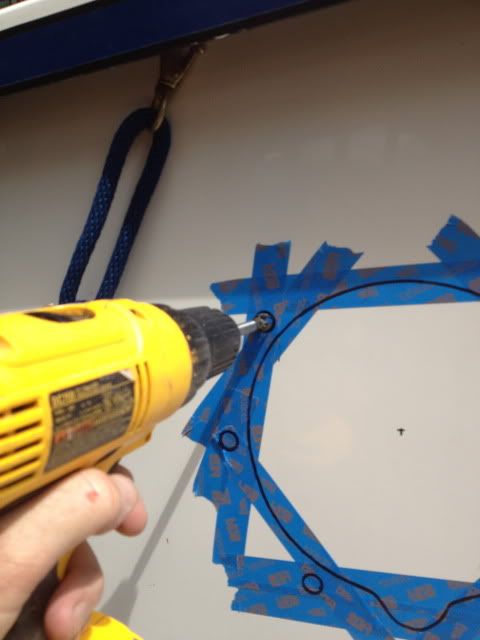
Drilled the holes with a Forstner bit. If the hull is thick where you're drilling, use a guide to keep the bit square. Or, watch as the forstner scores the surface to get it square as you start the hole.
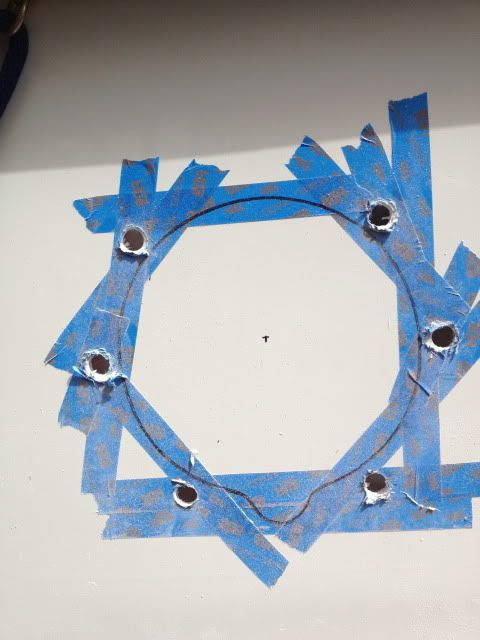
Here's the view after the holes were drilled.
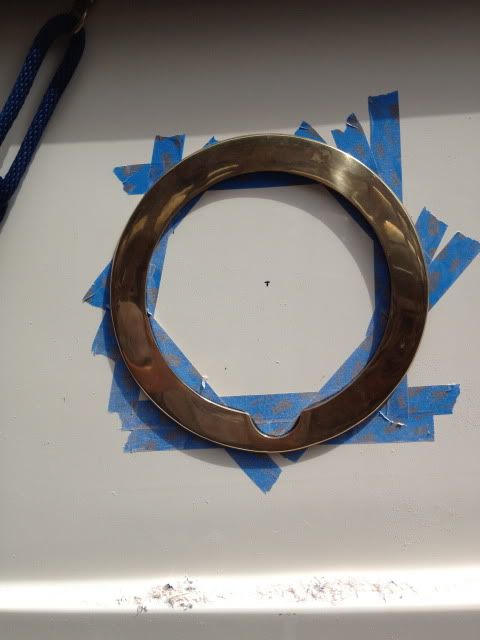
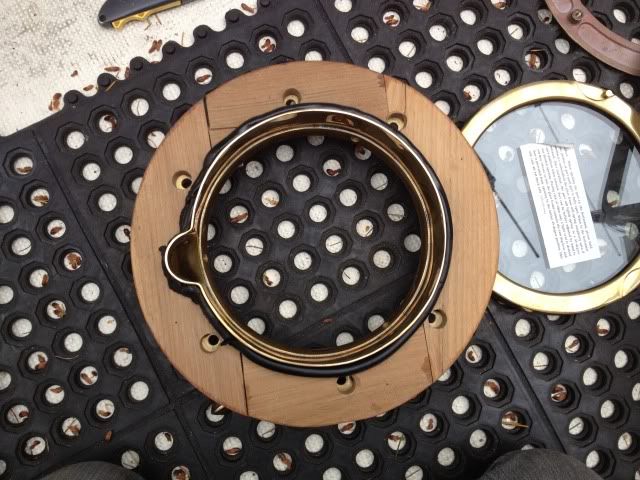
Dry fitting the trim ring to be sure it will clear the holes and lie flat.
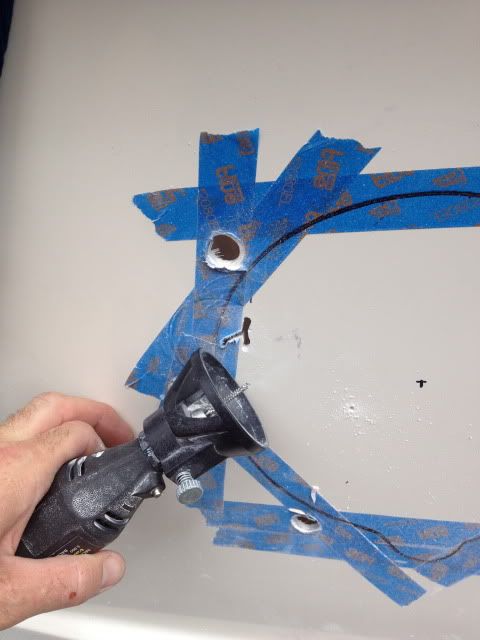
Using a Dremel tool with a tile cutting bit and roto-zip type attachment to keep it square. Slow going, but it works. Killed the Dremel tool (it's over 20 years old) and had to load the bit in my drill to finish.
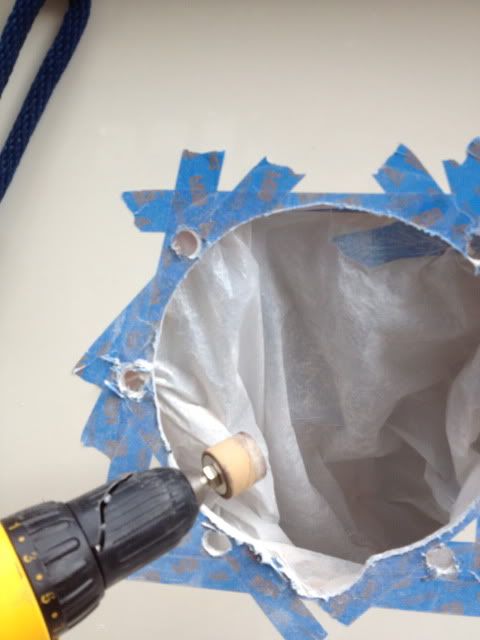
Used two small drum sanders in a drill to clean up the edges of the hole.
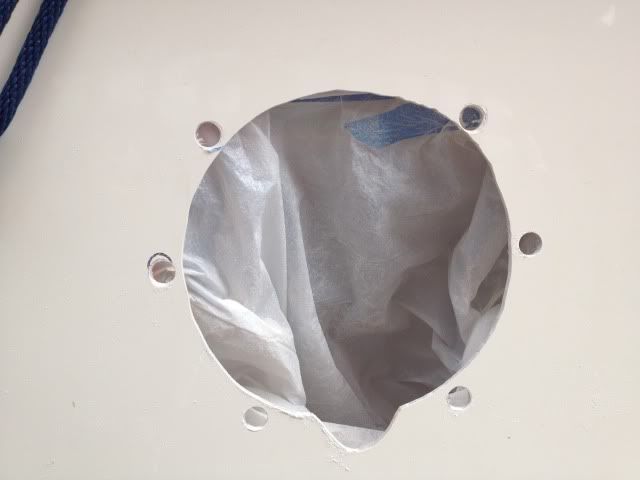
Completed hole with tape removed. I cleaned it up more with the drum sanders until the edges were smooth. Careful not to remove too much material!
Check your bag inside from time to time to be sure you haven't poked holes in it (I did). Repair the holes to keep the interior free of glass bits. If you're working in the cuddy, I learned the hard way before to remove the cushions first, then clean up thoroughly after the work. Otherwise, you'll have an itchy bed forever more.
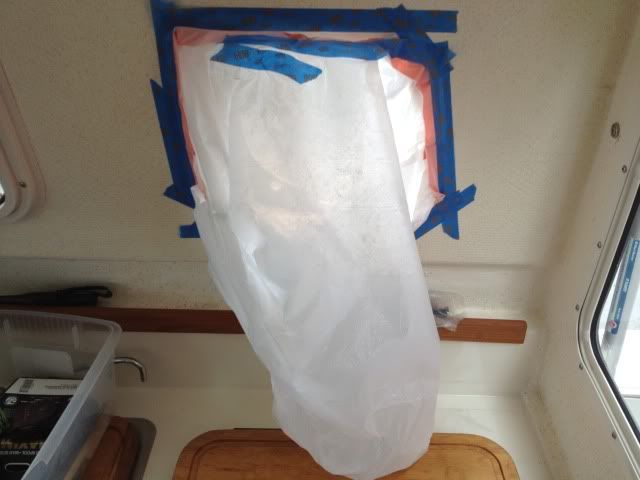
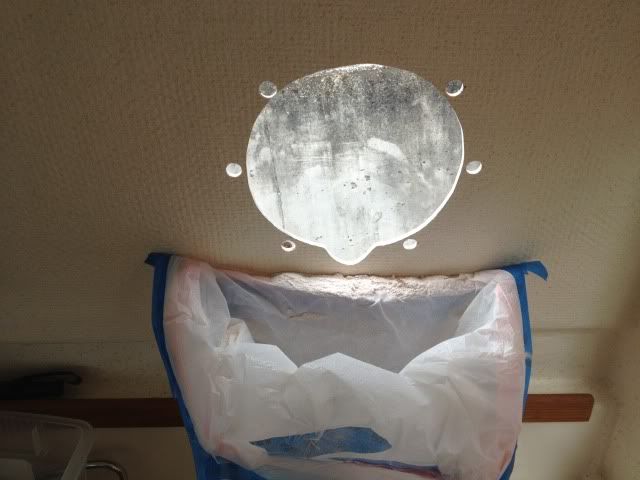
Removing the bag. Look how nicely the dust is piled up above the tape, and you literally just remove a bag of dust from the interior.
Dry fitting the port, exterior view.
Dry fitting the port, interior view.
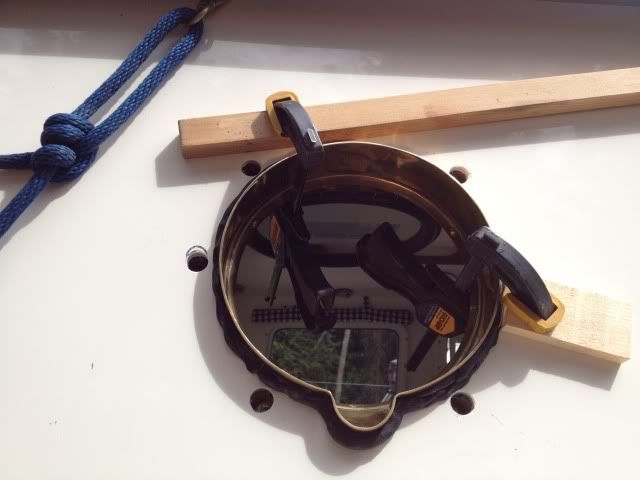
Wrapping the spigot with butyl caulk. Really sticky stuff, but surprisingly nice to work with--doesn't stick to your hands unless you really squeeze hard, but grabs metal and fiberglass like a champ. Note the teak frame is already broken.
Drawing the porthole into place with clamps--this compresses the caulk into the gap around the spigot.
Wrapping the hubs (threaded holes) on the trim ring with butyl caulk.
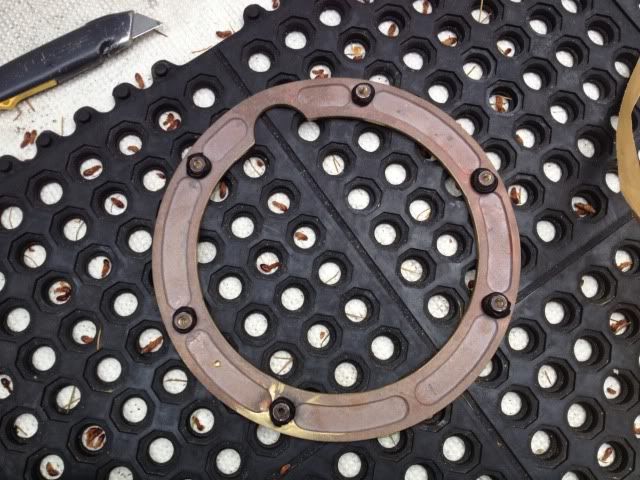
Adding closed cell foam tape to the perimeter of the trim ring (can also use 4200 here or similar, just not 5200--these portholes "move" for their lifetime).

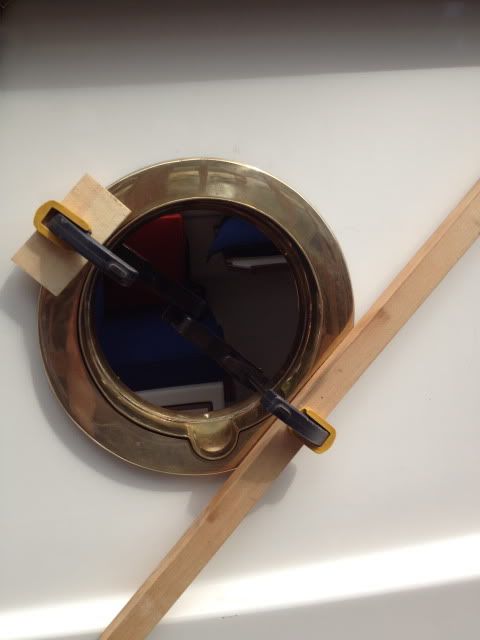
Drawing trim ring and porthole into final place with clamps and blocks. Fasteners are then added on the interior, and each one has to be measured and cut to length. I then used a die to chase the threads so I didn't strip the trim ring hubs.
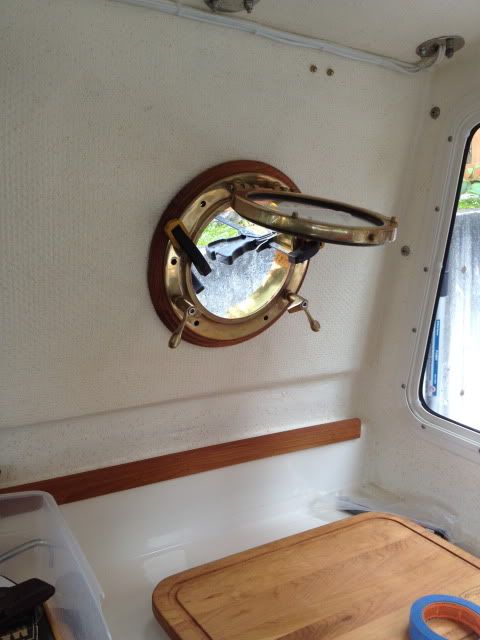
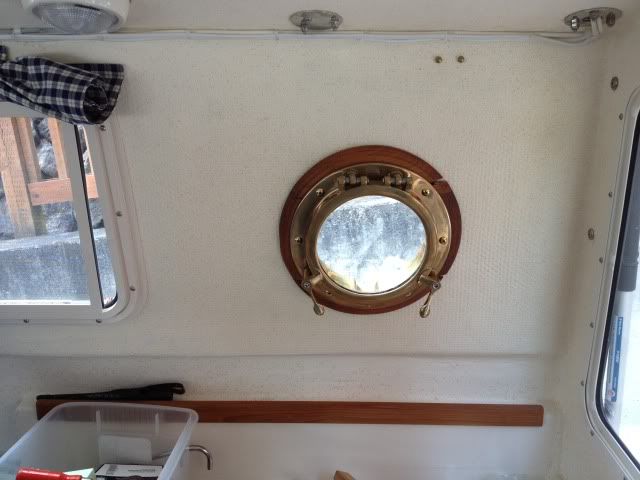
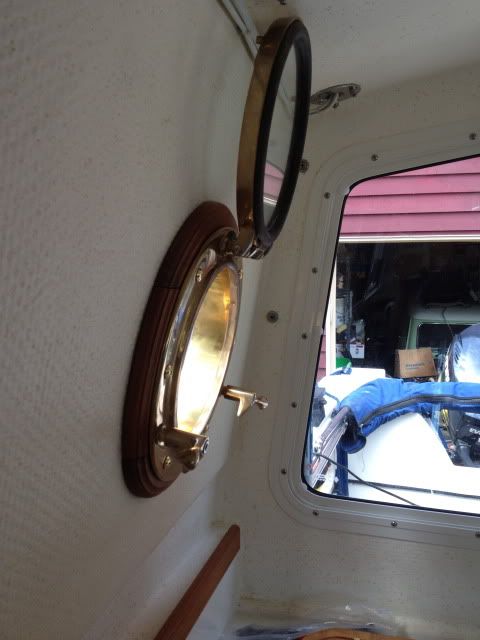
Finished install, interior view. At some point down the road, I'll loosen the bronze screws, and clamp/glue the teak frame back into a circle.
Open for light ventilation.
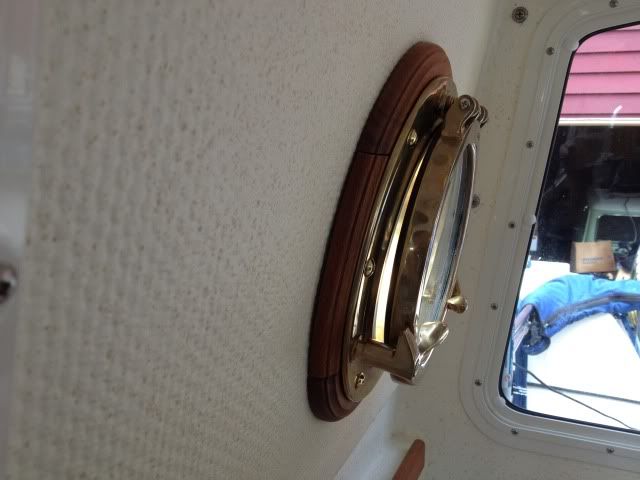
Normal opening.
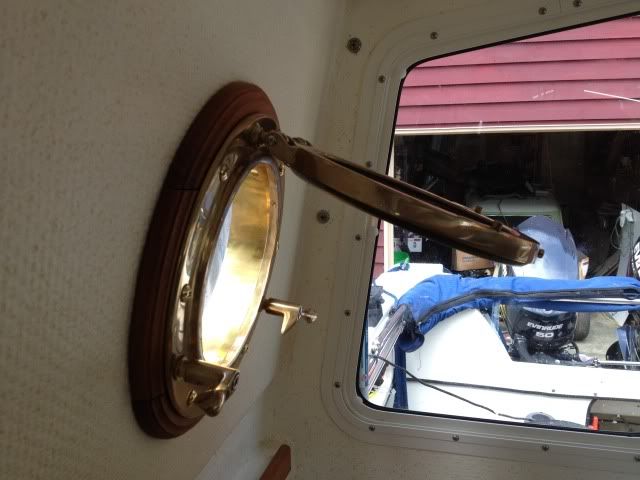
Full opening. Stainless screens are also available for about $25-30 per porthole.
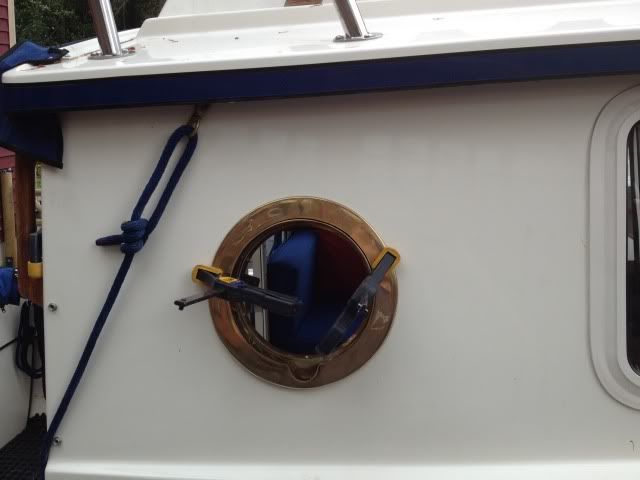
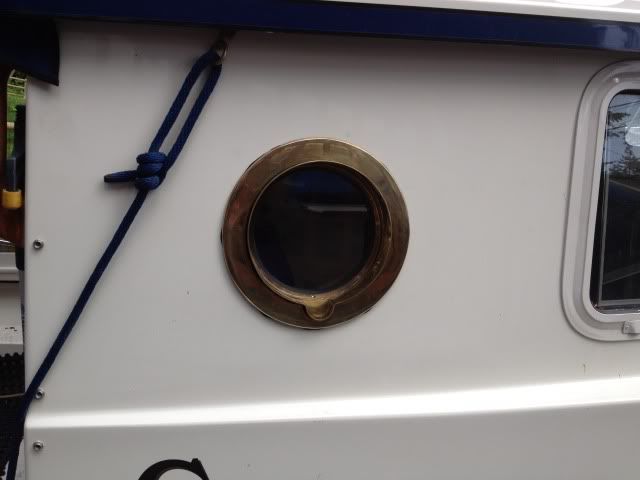
Finished install, exterior view. Still have a little cleanup to do around the spigot and trim ring, i.e. excess caulk.
Hope this is useful!! Best to all.
Ben McCafferty/bmacpiper
_________________
bmc
"Do it today, you may not pass this way again!"
2005 16 Cruiser, "Natural Blue", sold 2009
2004 19 Angler, "Crush", sold 2012
2007 22 Cruiser, "Big Blue", purchased 2012 |
|
| Back to top |
|
 |
Sunbeam
Joined: 23 Feb 2012
Posts: 3990
City/Region: Out 'n' About
State or Province: Other
C-Dory Year: 2002
C-Dory Model: 22 Cruiser
Photos: Sunbeam
|
| Posted: Fri Jun 01, 2012 9:41 pm Post subject: |
|
|
Excellent photo essay!  . I'm impressed that you took so many photos as you went along, and then posted, too (It seems so easy to start off with good intentions, then "get into" the project and the camera goes by the wayside; or, you just want to relax afterward instead of bothering to post something involved...) . I'm impressed that you took so many photos as you went along, and then posted, too (It seems so easy to start off with good intentions, then "get into" the project and the camera goes by the wayside; or, you just want to relax afterward instead of bothering to post something involved...) |
|
| Back to top |
|
|
Spike
Joined: 21 Oct 2006
Posts: 572
City/Region: Kent
State or Province: WA
C-Dory Year: 2007
C-Dory Model: 22 Cruiser
Vessel Name: Bootleg Hooch
Photos: Bootleg Hooch
|
| Posted: Fri Jun 01, 2012 11:24 pm Post subject: |
|
|
Ben
Interesting project. Gives your boat a very personal touch. Got a few good tips also. Especially the bag to catch the debris. But am wondering, who did the glass work to cover where the original rear side windows were? Have never seen a 22 with no back side windows. Did it come from the factory like that? Thanks
_________________
Chuck
Bootleg Hooch |
|
| Back to top |
|
|
bmacpiper
Joined: 03 Jun 2007
Posts: 211
City/Region: Bainbridge Island
State or Province: WA
C-Dory Year: 2007
C-Dory Model: 22 Cruiser
Vessel Name: Big Blue
|
| Posted: Thu Jun 07, 2012 8:28 pm Post subject: |
|
|
Hi Chuck,
Yes, the first owner ordered the boat with no back window, but only on the starboard side. The port side has the normal window. There is a slight ridge on the right side interior around where the window would have been, so I think that the hole was there and was filled back in--perhaps the mold had the window already there? It did come that way from the factory, and the interior glass and brown speckle finish looks exactly like the factory job. On a bright day, from inside the boat you can also see the outline of the window where the glass is just ever so slightly thinner than the surrounding glass.
Will be adding the two portholes up front soon.
Best,
bmc |
|
| Back to top |
|
|
|
|
You cannot post new topics in this forum
You cannot reply to topics in this forum
You cannot edit your posts in this forum
You cannot delete your posts in this forum
You cannot vote in polls in this forum
You cannot attach files in this forum
You cannot download files in this forum
|
|
 Search
 Private Messages
 Profile
 Log in
 Register
 Help
Help
