| View previous topic :: View next topic |
| Author |
Message |
Ctarmigan
Joined: 14 Nov 2019
Posts: 51
City/Region: Whitehorse
State or Province: YT
C-Dory Year: 2004
C-Dory Model: 22 Cruiser
Vessel Name: Ptarmigan
Photos: Ptarmigan
|
 Posted: Mon Jun 09, 2025 7:48 pm Post subject: Posted: Mon Jun 09, 2025 7:48 pm Post subject: |
 |
|
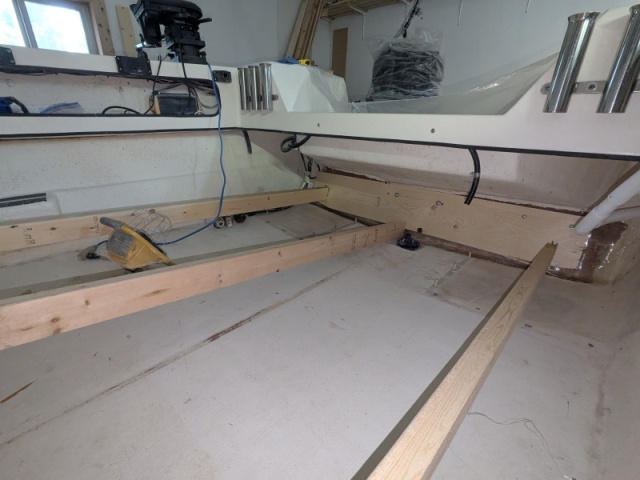
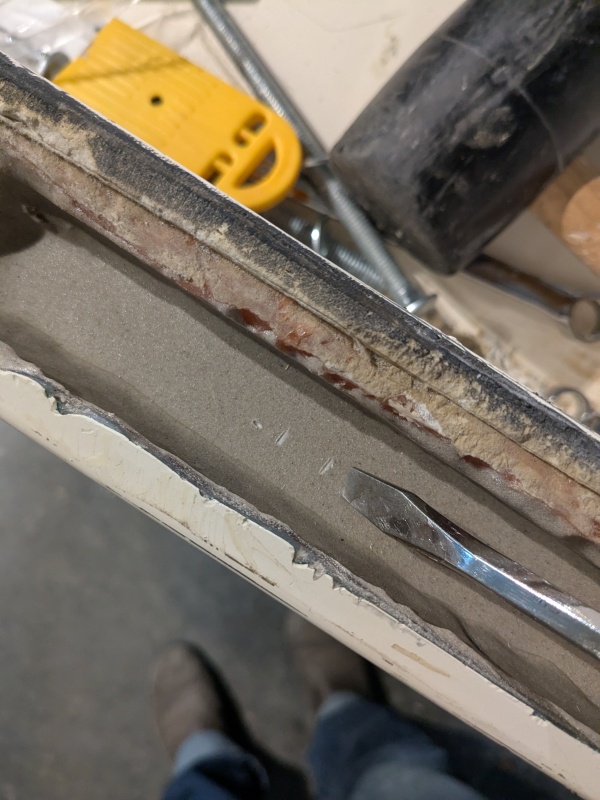
Next, I redrilled the bolt holes for the main outboard and kicker bracket in the new inner transom skin.
I made up some jigs to clamp the transom to uniform thickness from the outside (bearing against the 1" spacer pucks). Two 2x10 planks on the outer transom, one 2x10 inside below the splashwell, and 1 2x4 inside above the splashwell. I used the outboard and kicker bracket bolt holes to fix the planks in place, using bolts I'd warmed up and applied a layer of candle wax to (to enable their removal later once the CarbonBond had set up).
The bolts I used were smaller diameter than the holes - to prevent CarbonBond from leaking, I applied a ring of 4200 around each bolt hole before clamping down the planks.
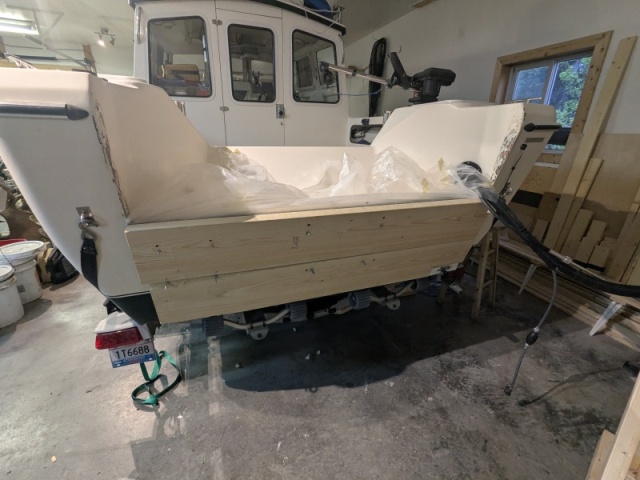
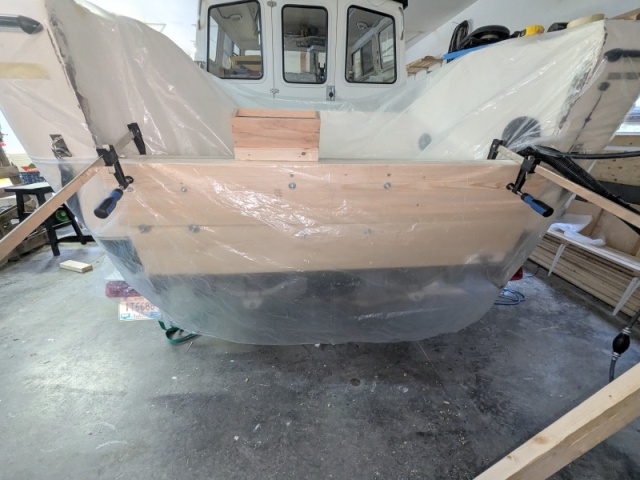
I added compressing force to the bottom of the lower inside plank with 2x4s bearing against a 2x10 abutting the cabin wall.
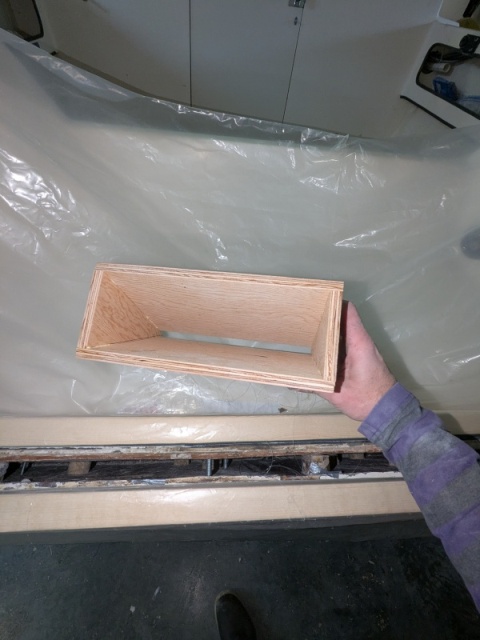
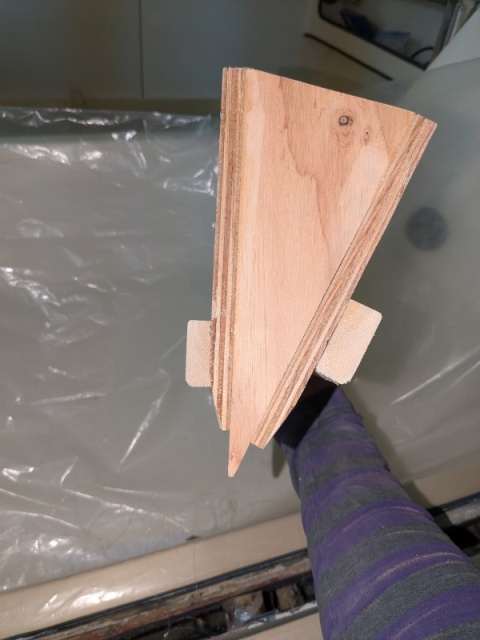
Last step was to fabricate a funnel to ensure easy pouring, with some stops allowing it to sit in place hands-free.
 |
|
| Back to top |
|
 |
thataway
Joined: 02 Nov 2003
Posts: 21505
City/Region: Pensacola
State or Province: FL
C-Dory Year: 2007
C-Dory Model: 25 Cruiser
Vessel Name: thataway
Photos: Thataway
|
| Posted: Mon Jun 09, 2025 9:55 pm Post subject: |
|
|
Nicely done, and very well documented. Thank you!
_________________
Bob Austin
Thataway
Thataway (Ex Seaweed) 2007 25 C Dory May 2018 to Oct. 2021
Thisaway 2006 22' CDory November 2011 to May 2018
Caracal 18 140 Suzuki 2007 to present
Thataway TomCat 255 150 Suzukis June 2006 thru August 2011
C Pelican; 1992, 22 Cruiser, 2002 thru 2006
Frequent Sea; 2003 C D 25, 2007 thru 2009
KA6PKB
Home port: Pensacola FL |
|
| Back to top |
|
|
Donald Tyson
Joined: 24 Jul 2023
Posts: 568
Photos: Thistle
|
| Posted: Tue Jun 10, 2025 7:51 am Post subject: |
|
|
Cool and easy Idea for a funnel. I won't elaborate on a few I made as it was a long time ago and they worked terribly bad.
I'm so glad you have documented this whole process well as it will serve so many owners going forward. |
|
| Back to top |
|
|
Ctarmigan
Joined: 14 Nov 2019
Posts: 51
City/Region: Whitehorse
State or Province: YT
C-Dory Year: 2004
C-Dory Model: 22 Cruiser
Vessel Name: Ptarmigan
Photos: Ptarmigan
|
| Posted: Fri Jul 04, 2025 12:35 am Post subject: |
|
|
Nearly all the work being in the prep, pouring the transom compound was relatively straightforward.
There was just one hiccup - on opening the box I discovered that while the supplier reseller (not CarbonCore) had helpfully included MEKP catalyst, it was only enough to catalyze at a temperature substantially warmer than my shop. Cue multi-pronged heating efforts (of the shop as a whole, the transom, and the bucket of CarbonBond) to reach the temperature for which I had enough MEKP...
On reaching appropriate temperature, I enlisted an assistant, and with everything ready mixed the transom compound and catalyst with a heavy-duty drill and mixing paddle. Once thoroughly mixed, we carefully poured the compound into the transom void. We poured a small amount at a time, and moved the funnel along the transom top to ensure a uniform level of compound as we went. The liquid compound is relatively thick - imagine melted ice cream mixed with sand. It does self-level to some degree, but it would have been quite slow to wait for it to do so if we'd only poured from the centre.
Carefully pouring while managing the funnel is very much a two-person job.

I had calculated a transom core volume of 5.19 gallons, but bought only one 5-gallon bucket of compound. For the eye-watering price in these parts, I was satisfied making up the 0.19 gallons of remaining space with a combination of the epoxy spacer pucks, and thickened epoxy transom cap. With the epoxy pucks in place, I ended up with perhaps 3/4" of remaining space to fill.
Speaking of eye-watering, I should mention to anyone considering using CarbonBond; ensure you have adequate ventilation. This stuff smells acutely toxic.
CarbonBond suggests it cures to workable condition within 2 hours, but to keep on the safe side I left all to its own devices for ~12 hours. Checking hardness, I found I could mark the 12-hour cured compound with a screwdriver, but only by applying considerable force.
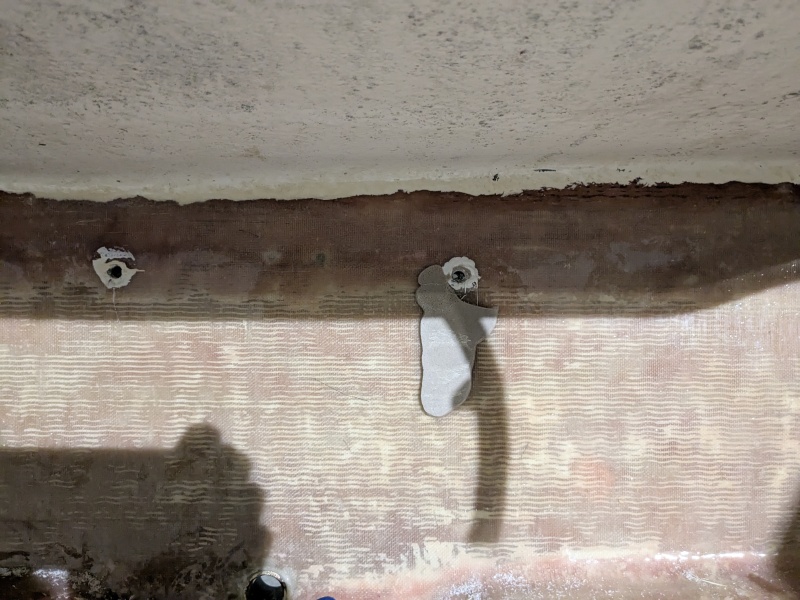
I removed the wooden jigs, and spotted one near-disaster: my 4200 containment ring around one of the bolt holes had very lightly failed, leaving a small blurt of now-hardened compound on the inside transom. A larger failure than this could have been a catastrophic leak of curing transom compound into the cockpit. Crisis narrowly averted.
 |
|
| Back to top |
|
|
Ctarmigan
Joined: 14 Nov 2019
Posts: 51
City/Region: Whitehorse
State or Province: YT
C-Dory Year: 2004
C-Dory Model: 22 Cruiser
Vessel Name: Ptarmigan
Photos: Ptarmigan
|
| Posted: Fri Jul 04, 2025 12:54 am Post subject: |
|
|
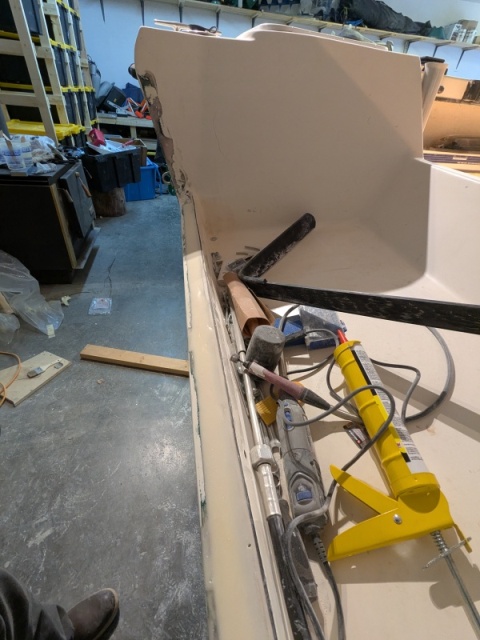
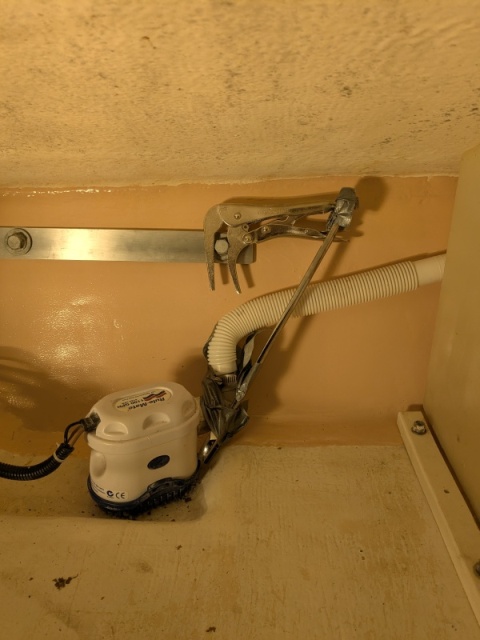
My final remaining jobs were to build up a transom cap, paint the new inner cockpit skin, and reattach all the hardware I'd removed (i.e. main motor, kicker bracket and transducer cable fasteners, fuel tanks, bilge pump and fuel-water separator).
I filled the remaining 3/4" transom void with cabosil-thickened West System epoxy, a little at a time to avoid thermal disaster. With a looming trip departure (did I mention I completed all of this with a countdown over my head?) I elected to simply finish with a faired epoxy surface, and re-application of my original (now broken) plastic transom cap with LifeSeal adhesive. The final product is functional but not elegant - I'll revisit this when I have more project time at my disposal this winter.
My approach to finishing the interior skin of the cockpit side was similarly responsive to my remaining available time. I applied two coats of an alkyd rust paint, which will do for now.
With the main motor off, I figured this was a good opportunity to add aluminum bars between motor bracket bolts on the cockpit side, rather than rely simply on the original washers to bear the outboard weight. I fabricated these from scrap bar from a local metal shop.
Having lost access to my assistant, I had to implement a solo system for remounting the main motor that some of you may recognize from your own similar experiences.
 |
|
| Back to top |
|
|
Ctarmigan
Joined: 14 Nov 2019
Posts: 51
City/Region: Whitehorse
State or Province: YT
C-Dory Year: 2004
C-Dory Model: 22 Cruiser
Vessel Name: Ptarmigan
Photos: Ptarmigan
|
| Posted: Fri Jul 04, 2025 1:02 am Post subject: |
|
|
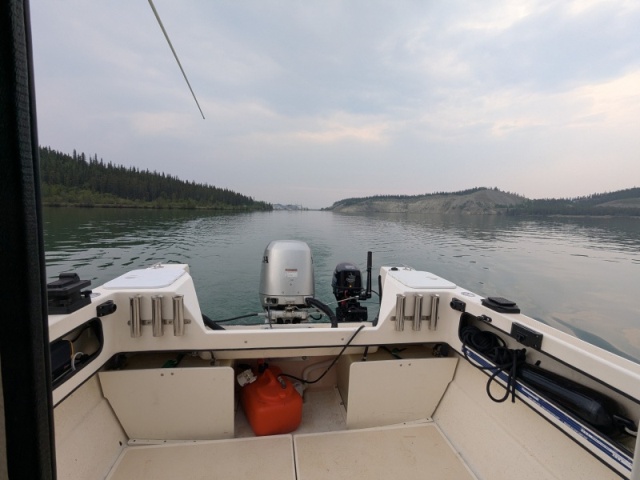
Everything reassembled and cleaned up, it was time for a test run. I'd performed some concurrent repairs on the Honda BF90A3 main motor (replacing a corroded tilt tube, and installing new oil seals on the upper end of the gearcase) which needed assessment as well.
Everything worked as it should; the motor motored, and the transom transomed. Externally a pretty anticlimactic result, but at least I (and now some of you) know what went into regaining normal function.
 |
|
| Back to top |
|
|
Ctarmigan
Joined: 14 Nov 2019
Posts: 51
City/Region: Whitehorse
State or Province: YT
C-Dory Year: 2004
C-Dory Model: 22 Cruiser
Vessel Name: Ptarmigan
Photos: Ptarmigan
|
| Posted: Fri Jul 04, 2025 1:27 am Post subject: |
|
|
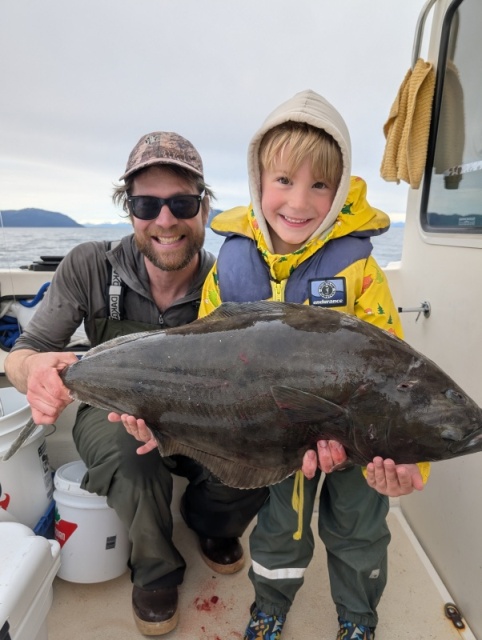
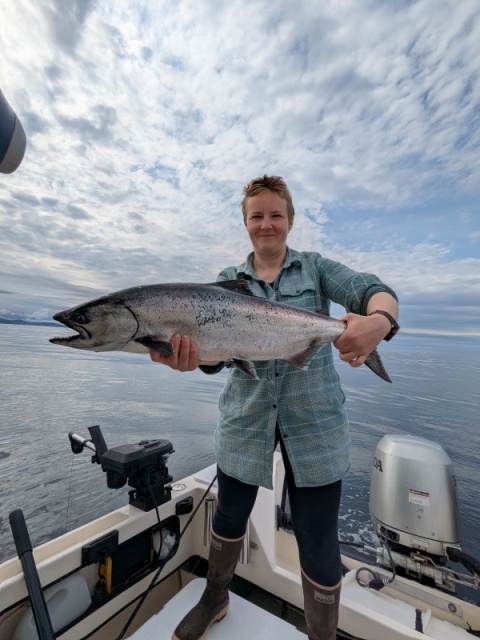
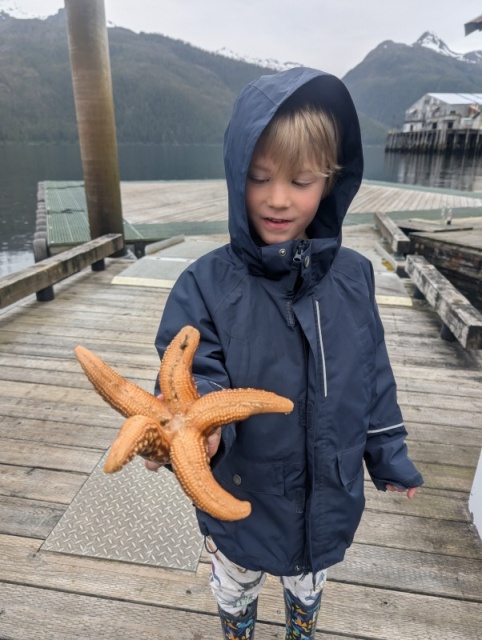
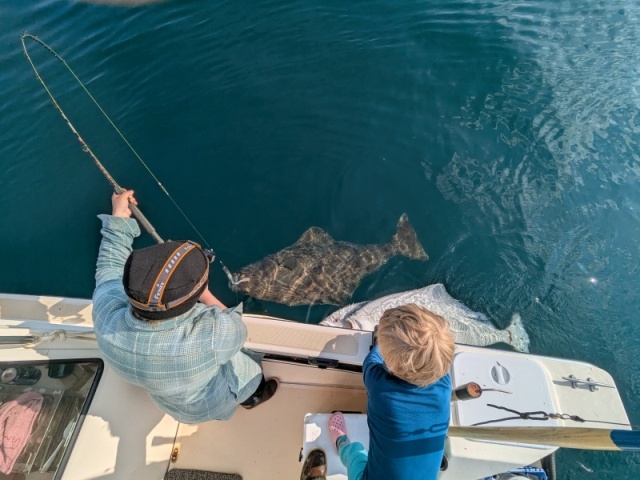
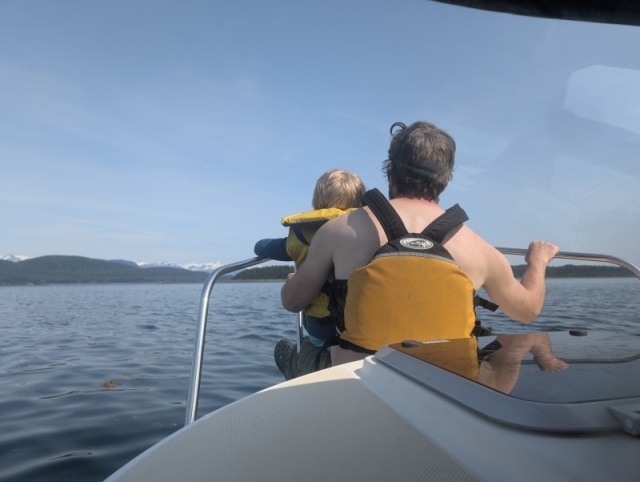
A lot of work (much of it late nights that would have otherwise been occupied by sleep), but immediately rewarding in that it enabled our planned mid-June SE AK family trip to run as planned.
 |
|
| Back to top |
|
|
|
|
You cannot post new topics in this forum
You cannot reply to topics in this forum
You cannot edit your posts in this forum
You cannot delete your posts in this forum
You cannot vote in polls in this forum
You cannot attach files in this forum
You cannot download files in this forum
|
|
 Search
 Private Messages
 Profile
 Log in
 Register
 Help
Help
